awanderingbard (![[personal profile]](https://www.dreamwidth.org/img/silk/identity/user.png) awanderingbard) wrote2015-08-20 12:06 pm
awanderingbard) wrote2015-08-20 12:06 pm
Entry tags:
Anatomy of a Daemon Portrait
I'm not sure if this will be interesting to anyone, but I always like seeing speedpaints and progressions of art stuff, so I thought other people might as well.
This is a sort of step-by-step of a daemon portrait, of James Hathaway and his daemon, Ismini. Not really a tutorial, though I'm happy to clarify if anyone has any questions.
I use Paint Shop Pro 18, and The GIMP.
Images used are this one, from a Google search, and this one, from Wikimedia commons.
Ismini is a Mountain weasel, but I couldn't find a good picture of a mountain weasel (they're shy), so I used a polecat, which is also in the mustela family, and changed her colour to look a little more like a mountain weasel. But she is still too dark. But we take what we can get.
Pro-tip, if you click here, you can view it as a slideshow and not have to click in and out of each image link. Just use the arrows to go ahead or back.
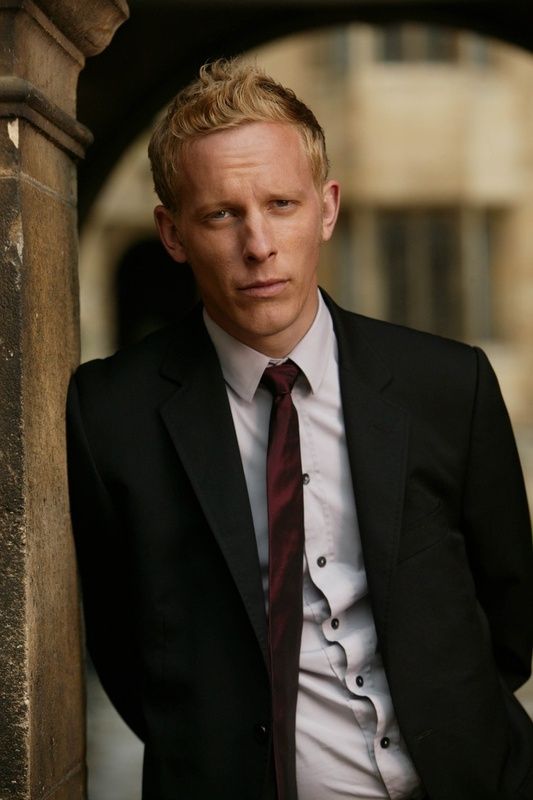
Step One: Human
Auto-select to remove background, clean up selection with mask painting, give James some of his hair back, move him a little, give him a background.
Step Two: Animal:
Change colour (color-to-target, some blend layers), auto-select to remove background, clean up with mask painting, resize,
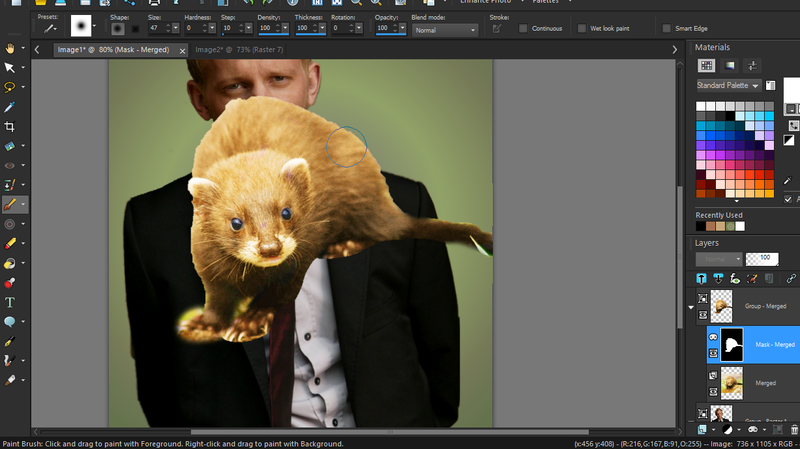
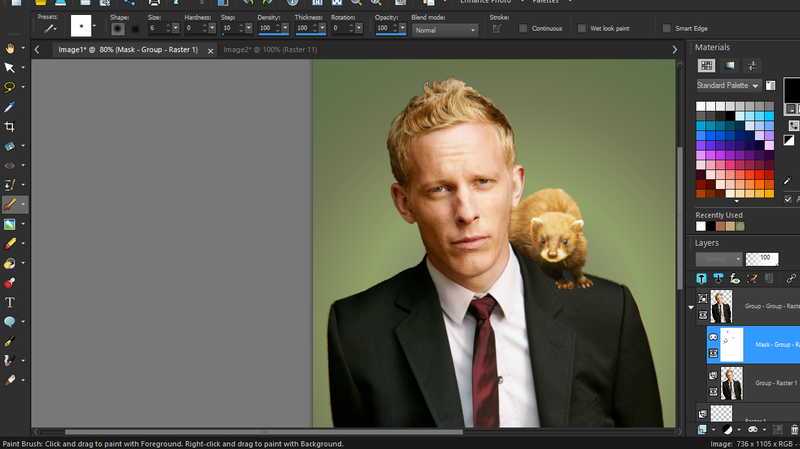
Step Three: Blending Human and Animal
Position, paint out some of James' shoulder with a mask to let Ismini's legs show through (thus making her look in front/stnading on his shoulder).
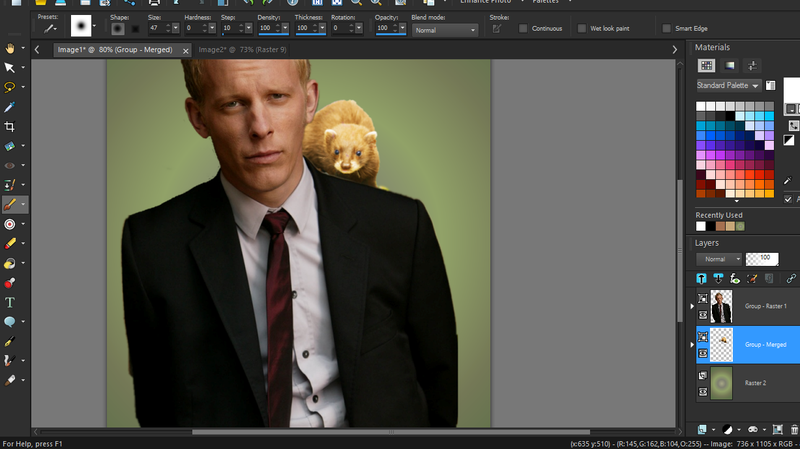
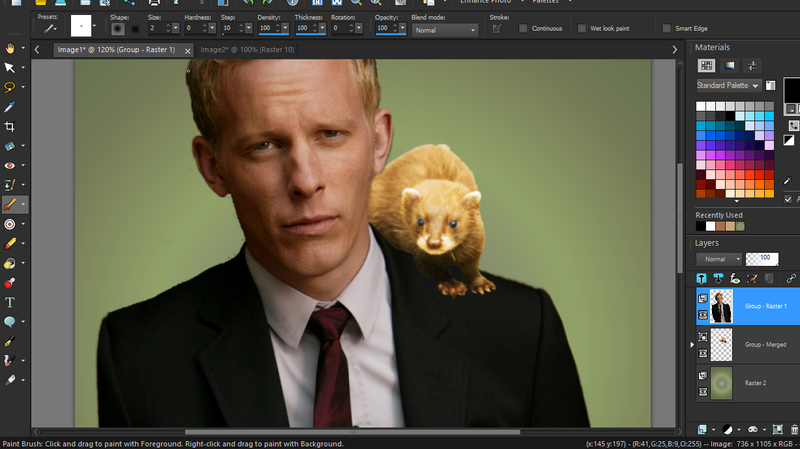
Step Four: Details
Adjusted James to match Ismini's lightness level, cleaned up his mask layer, fluffed Ismini's fur with a smudge brush to bring back what was cut out, added shadows with the darken brush to look like she's interacting with him, moved them to close the gap at the bottom, and adjusted James' sleeve and jacket to not look so boxy from being cut out, painted in some spots on Ismini's eyes to make them look like they're looking more at the camera.
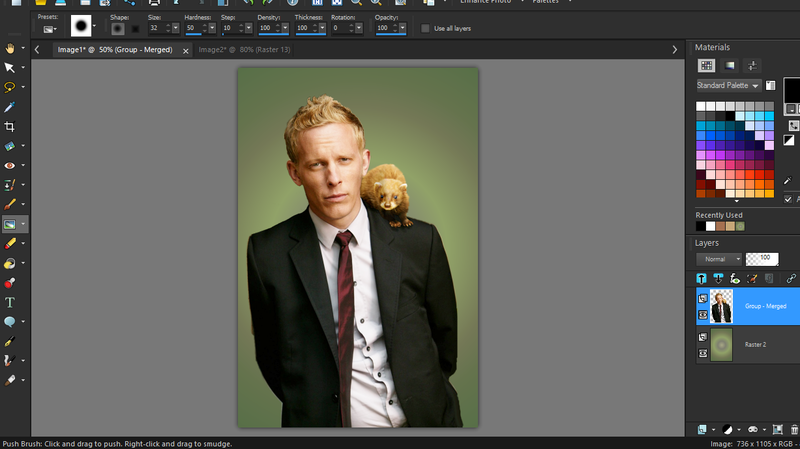
Step Five: Effects
This is all in GIMP: Anistropic filter (smooth), High Pass (sharpen), Graphic Novel effect (makes it look drawn), blending and whatnot to tone down effect, Graphic Novel effect in black and white (gives line drawing look to bring out details when put on Multiply)
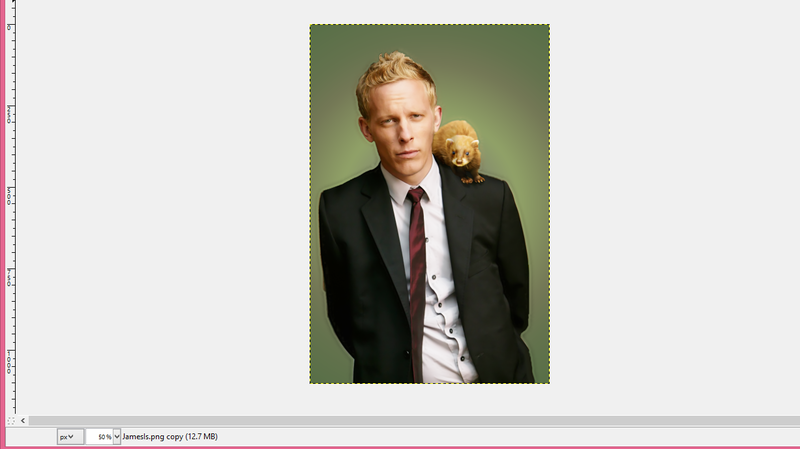
Step Six: Final Fussing
Back in PSP, just pasted over the original image and opacity lowered until I like the look. Resized. I always resize everything down to 60% of the original size, because it blends any sharp spots out.
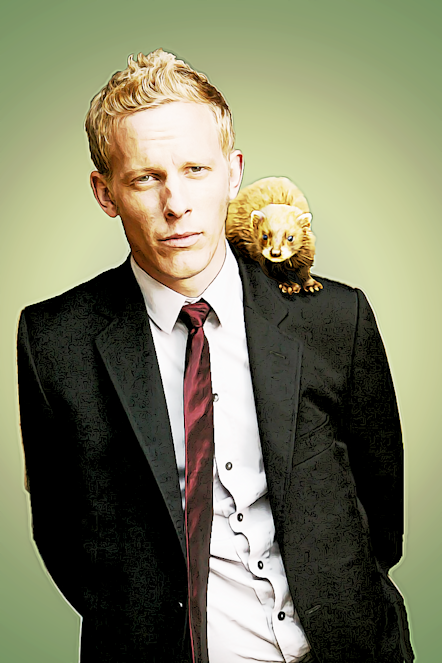
And final result:

This is a sort of step-by-step of a daemon portrait, of James Hathaway and his daemon, Ismini. Not really a tutorial, though I'm happy to clarify if anyone has any questions.
I use Paint Shop Pro 18, and The GIMP.
Images used are this one, from a Google search, and this one, from Wikimedia commons.
Ismini is a Mountain weasel, but I couldn't find a good picture of a mountain weasel (they're shy), so I used a polecat, which is also in the mustela family, and changed her colour to look a little more like a mountain weasel. But she is still too dark. But we take what we can get.
Pro-tip, if you click here, you can view it as a slideshow and not have to click in and out of each image link. Just use the arrows to go ahead or back.
Step One: Human
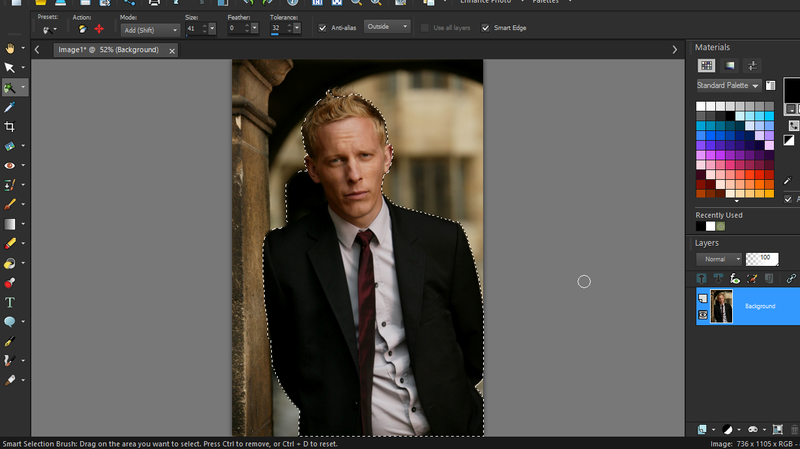 |  | 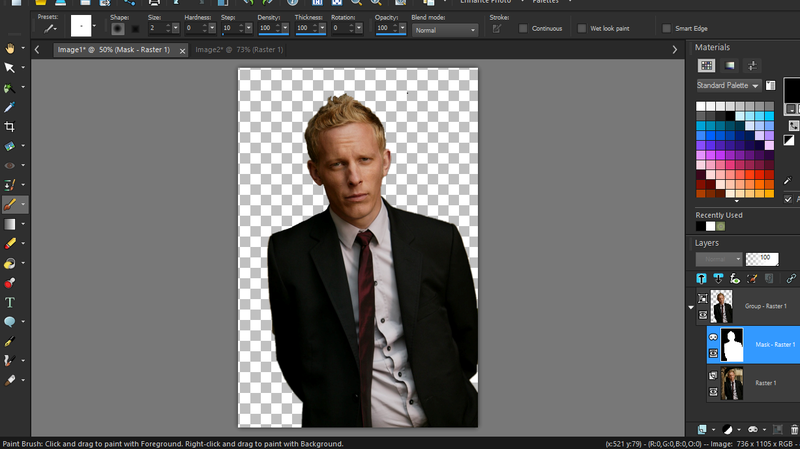 | 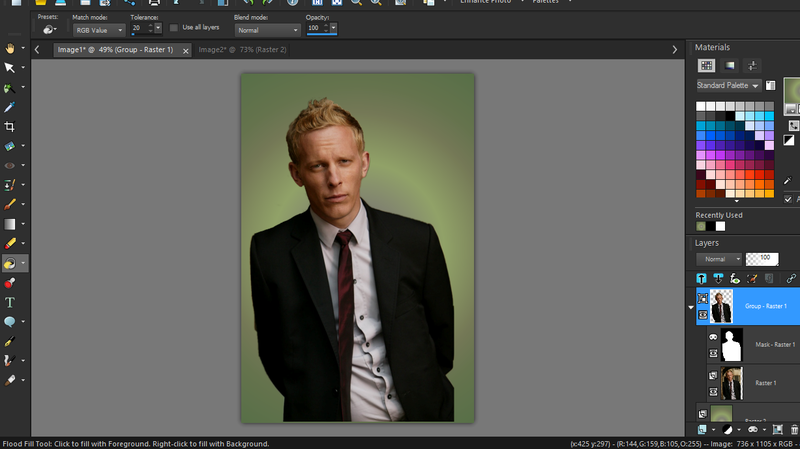 |
Auto-select to remove background, clean up selection with mask painting, give James some of his hair back, move him a little, give him a background.
Step Two: Animal:
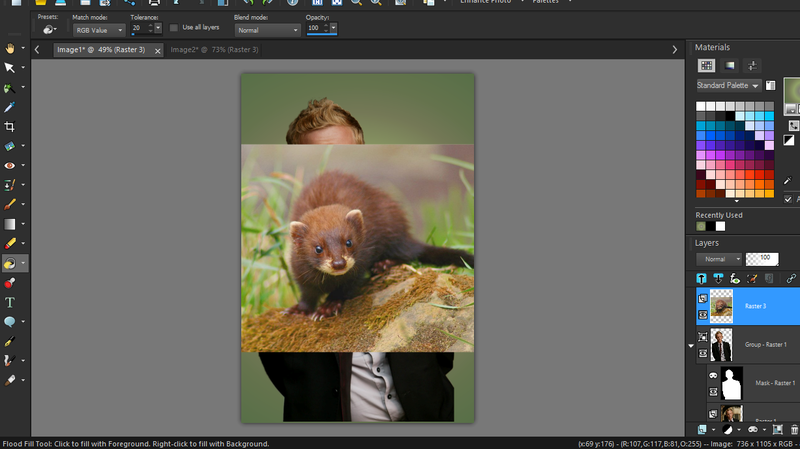 | 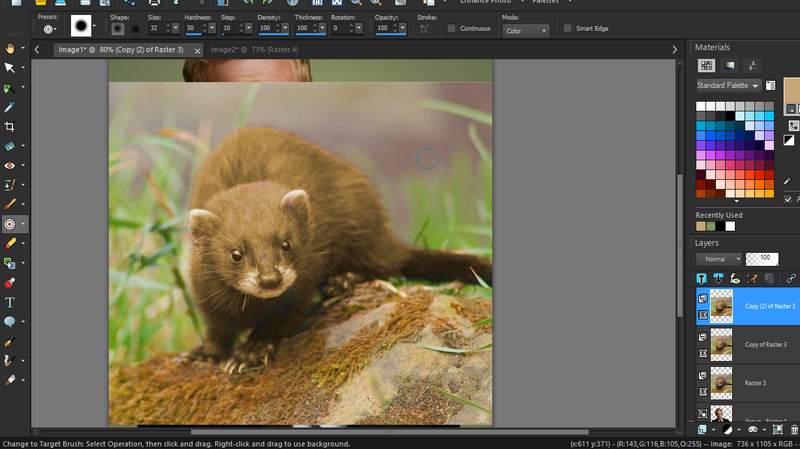 | 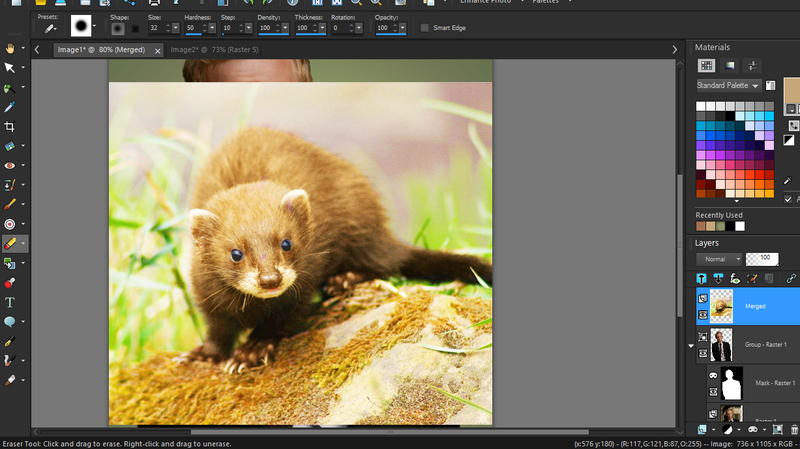 | 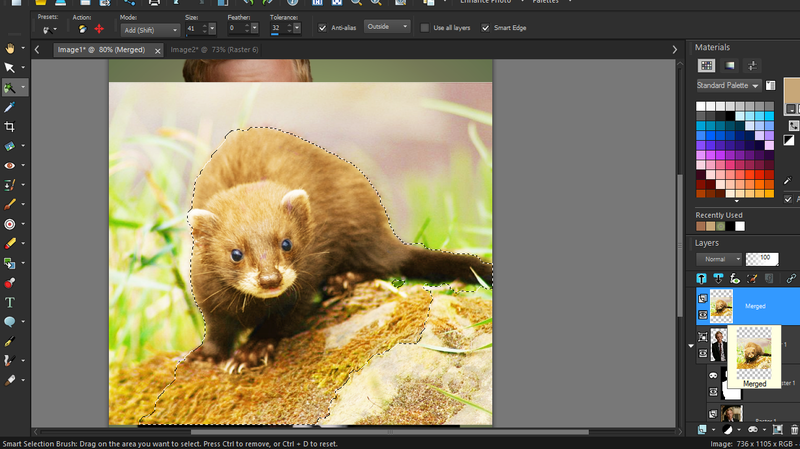 |  |
Change colour (color-to-target, some blend layers), auto-select to remove background, clean up with mask painting, resize,
Step Three: Blending Human and Animal
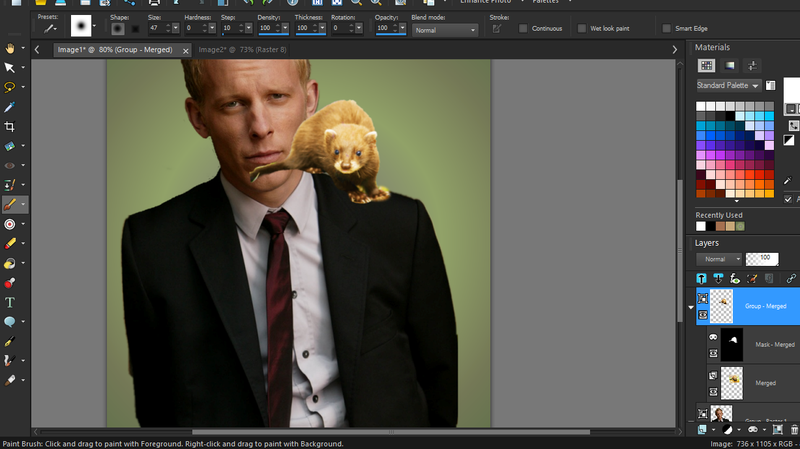 |  |  |
Position, paint out some of James' shoulder with a mask to let Ismini's legs show through (thus making her look in front/stnading on his shoulder).
Step Four: Details
 | 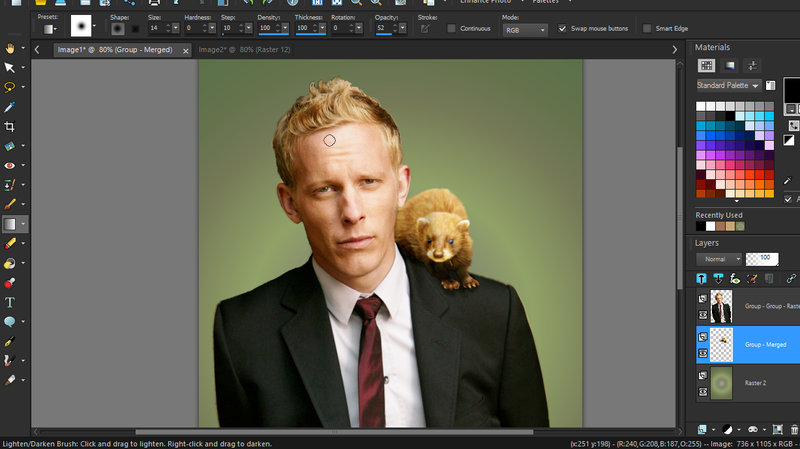 |  |
Adjusted James to match Ismini's lightness level, cleaned up his mask layer, fluffed Ismini's fur with a smudge brush to bring back what was cut out, added shadows with the darken brush to look like she's interacting with him, moved them to close the gap at the bottom, and adjusted James' sleeve and jacket to not look so boxy from being cut out, painted in some spots on Ismini's eyes to make them look like they're looking more at the camera.
Step Five: Effects
 |  | 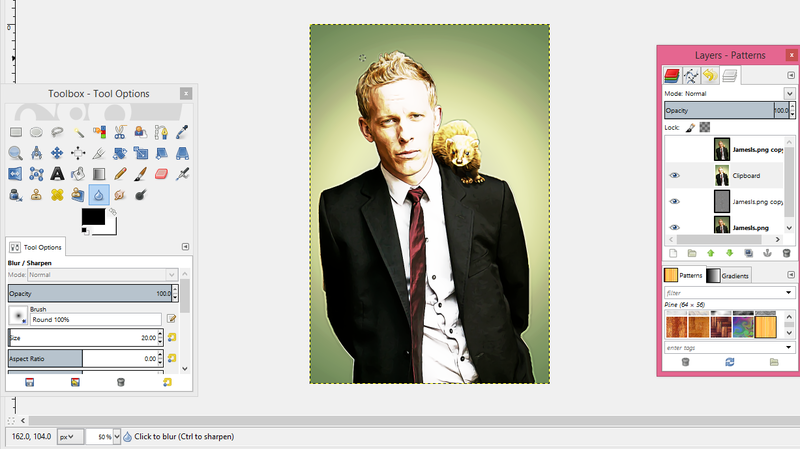 | 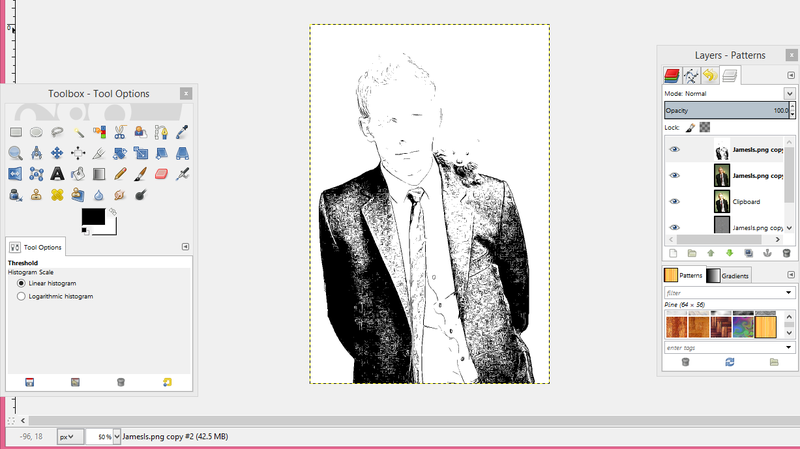 |
This is all in GIMP: Anistropic filter (smooth), High Pass (sharpen), Graphic Novel effect (makes it look drawn), blending and whatnot to tone down effect, Graphic Novel effect in black and white (gives line drawing look to bring out details when put on Multiply)
Step Six: Final Fussing
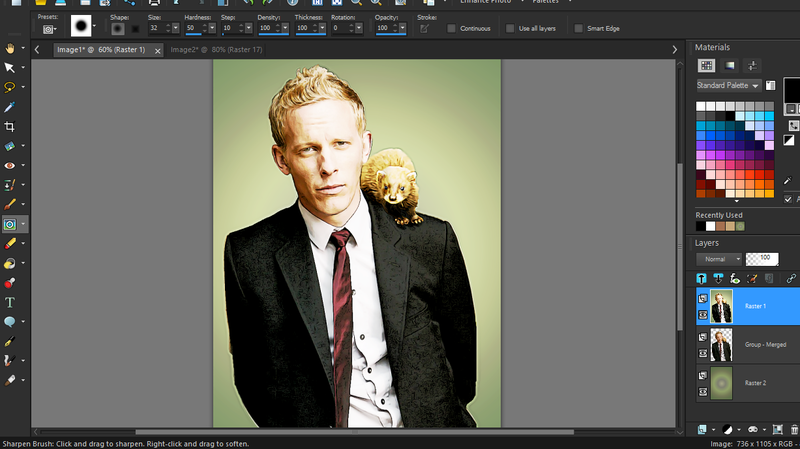 |
Back in PSP, just pasted over the original image and opacity lowered until I like the look. Resized. I always resize everything down to 60% of the original size, because it blends any sharp spots out.
And final result:
no subject